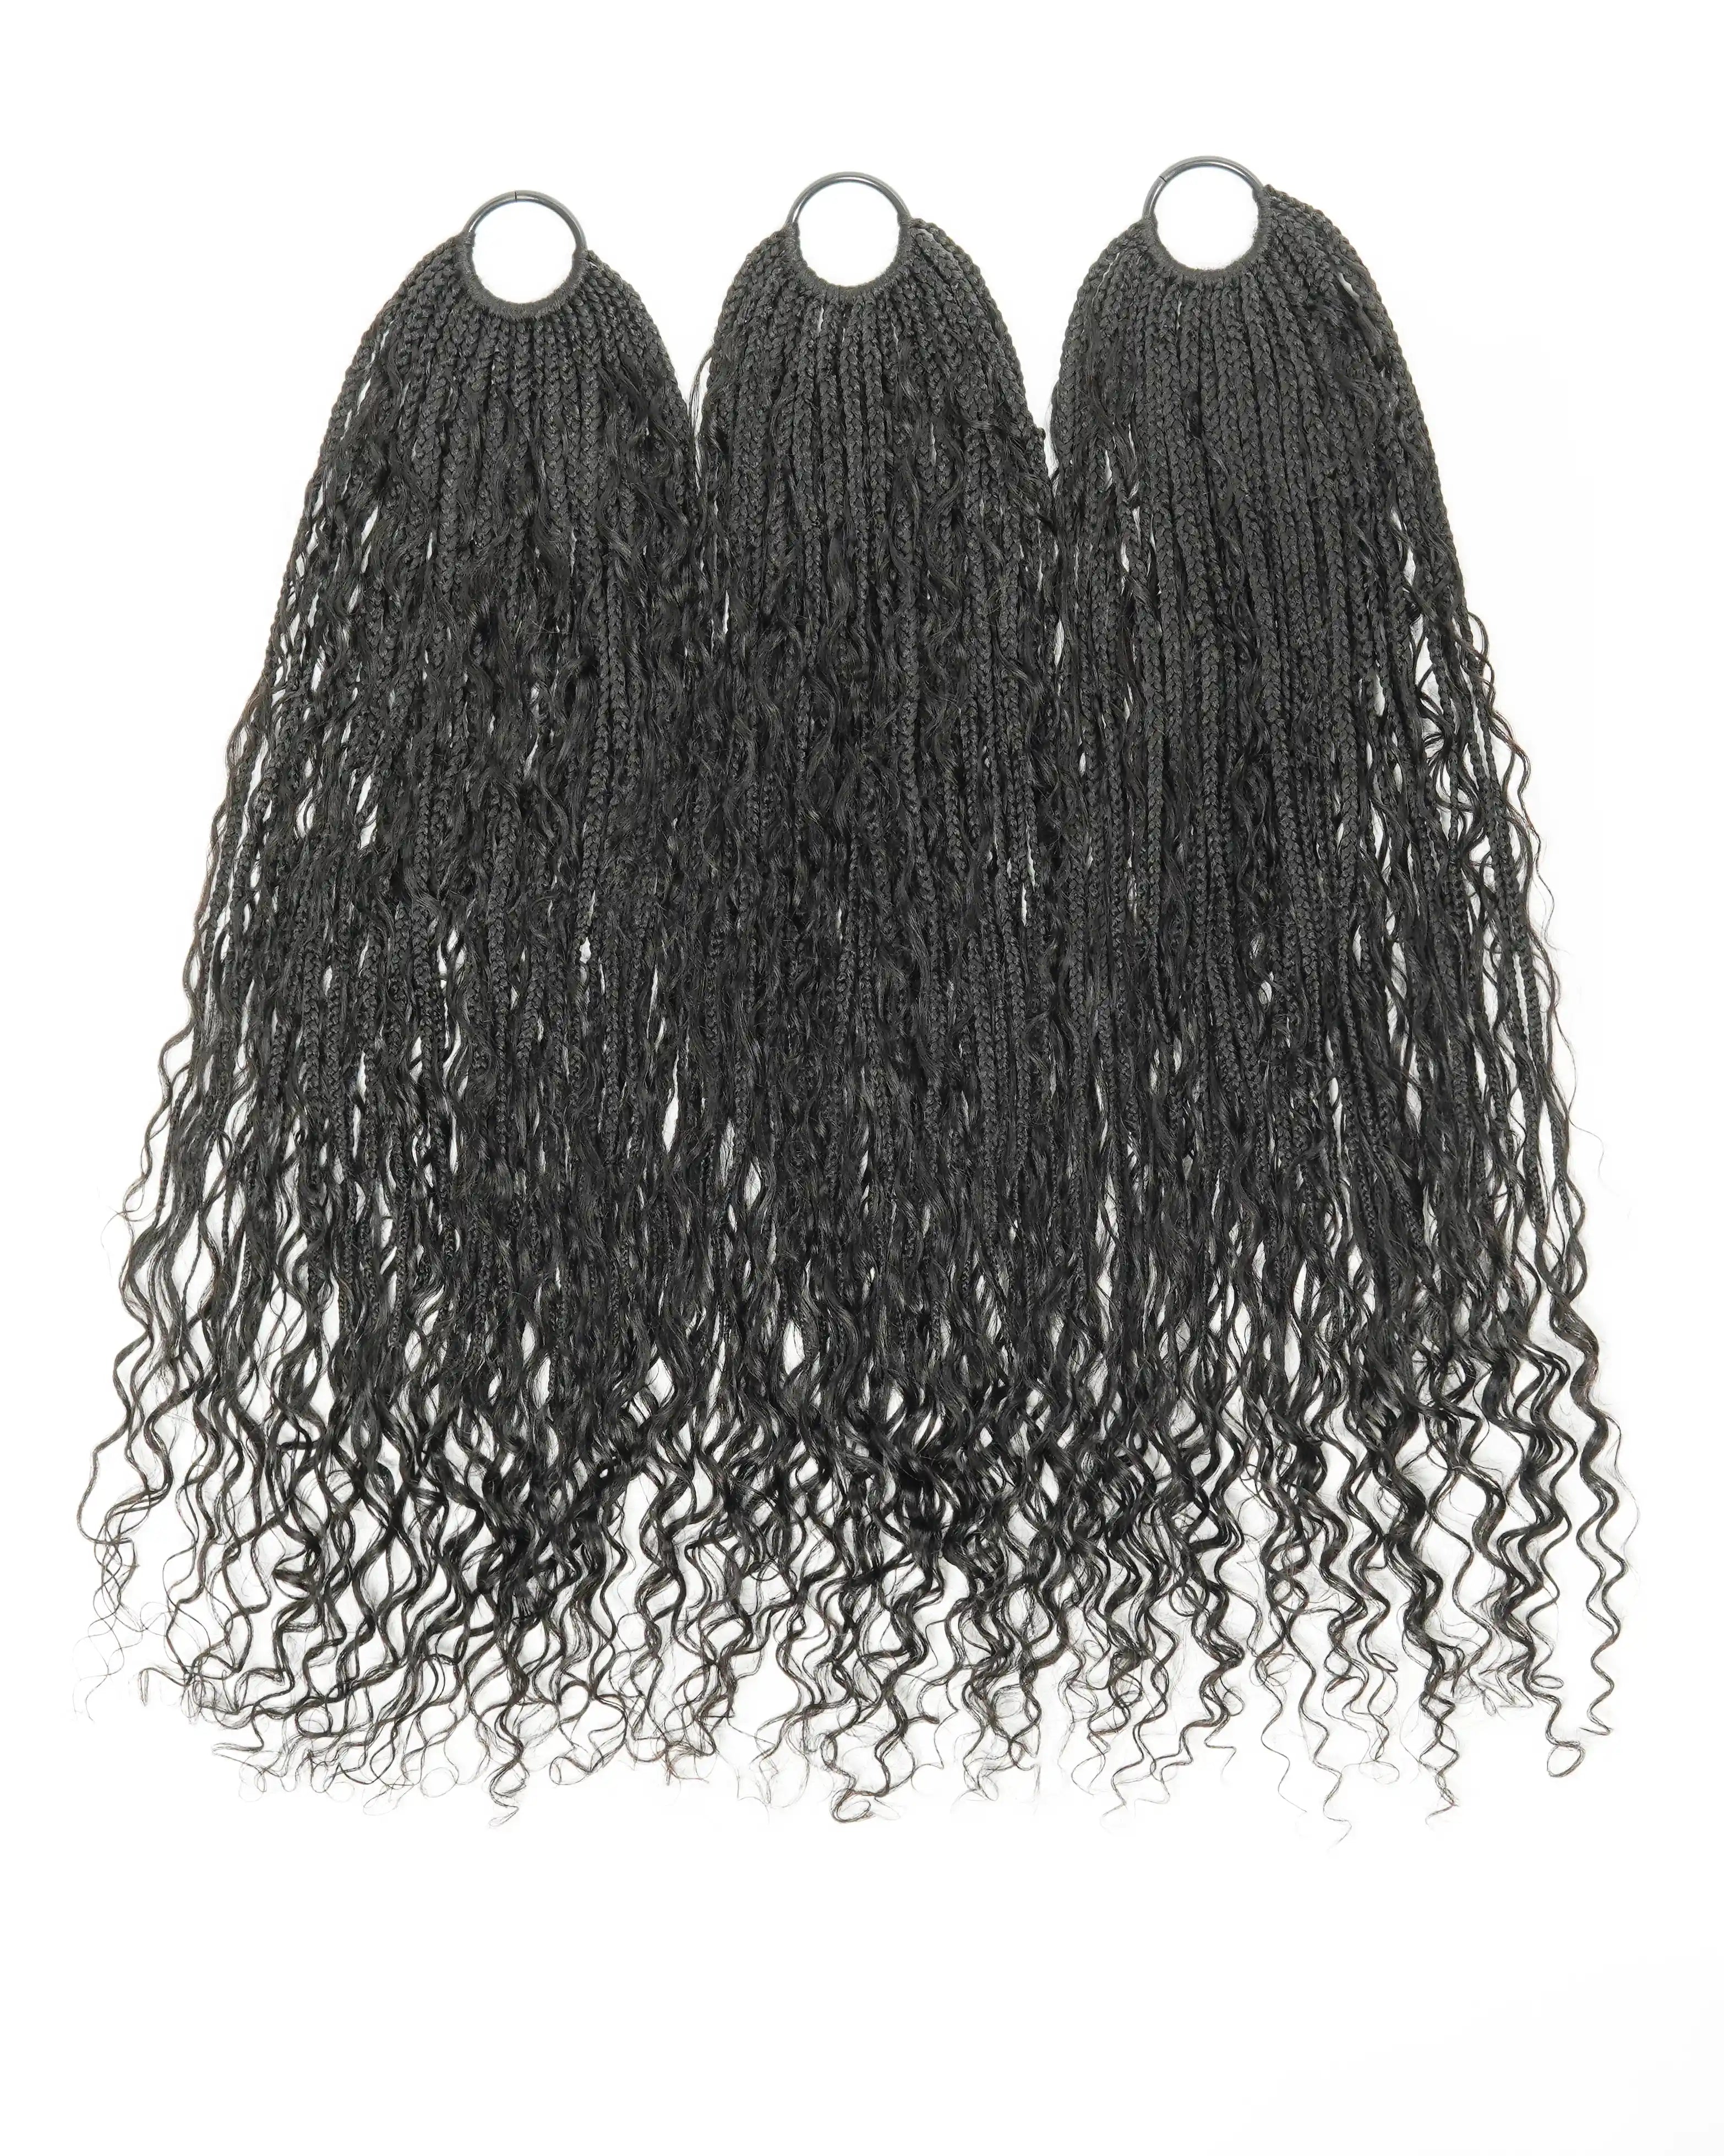
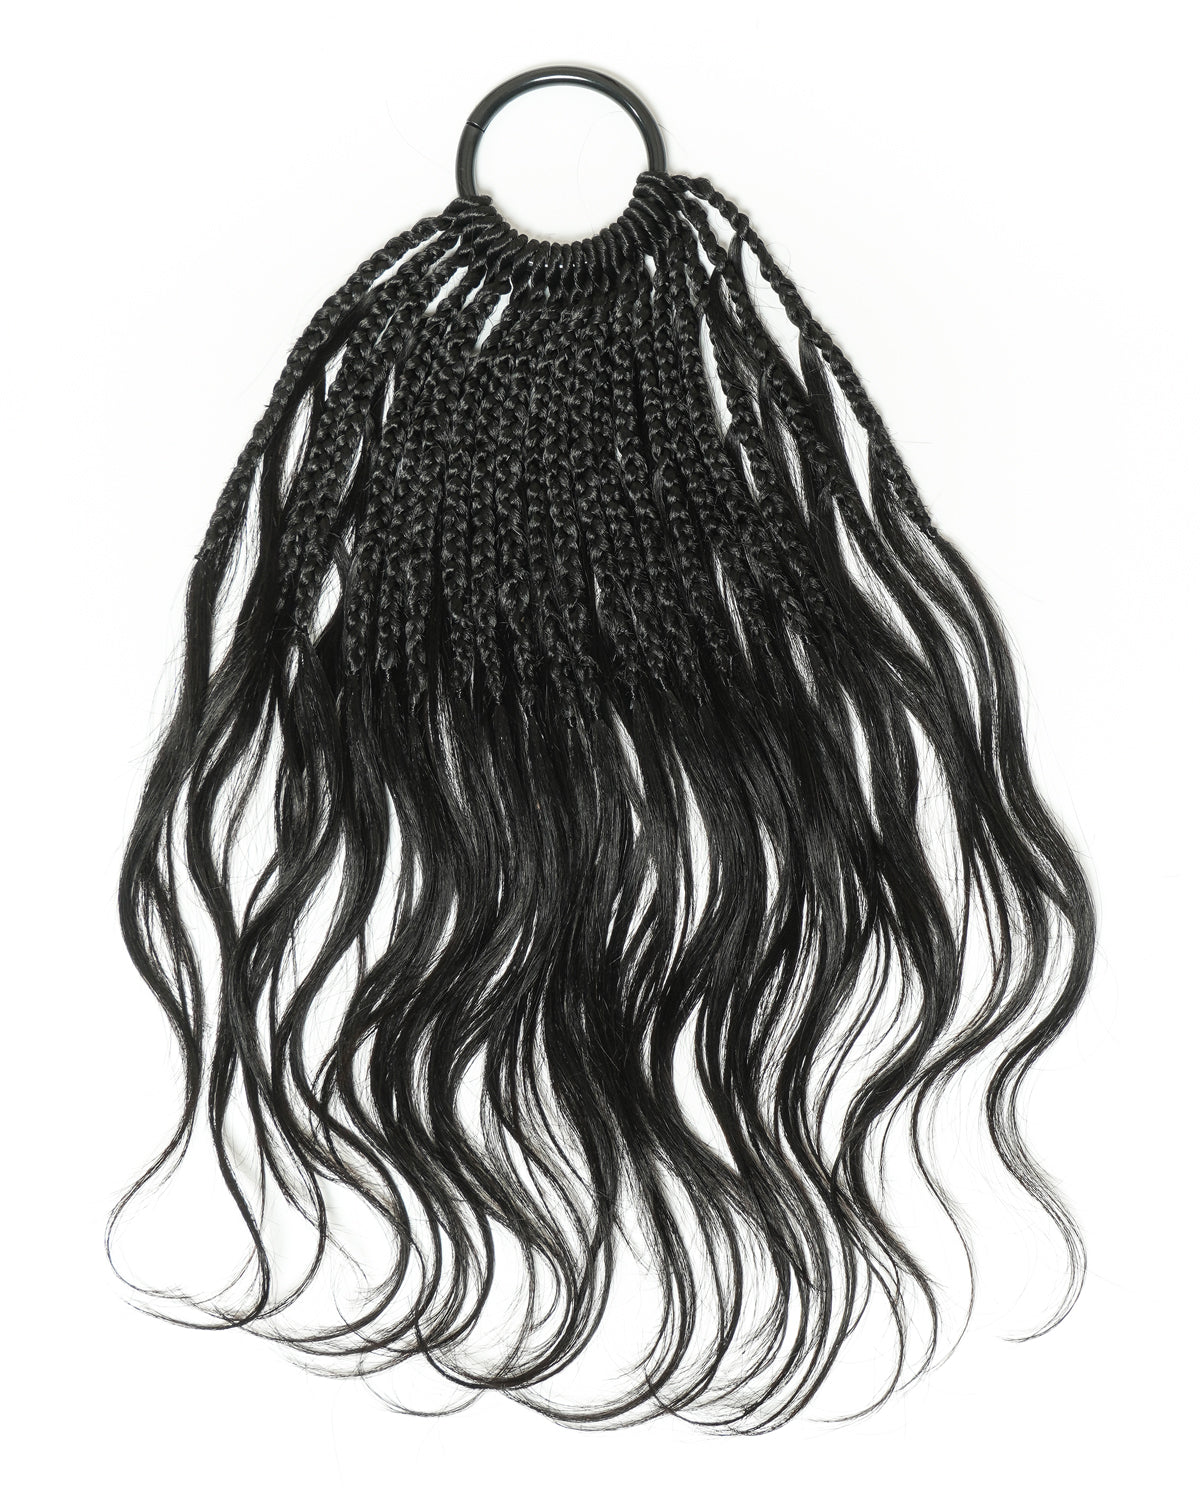
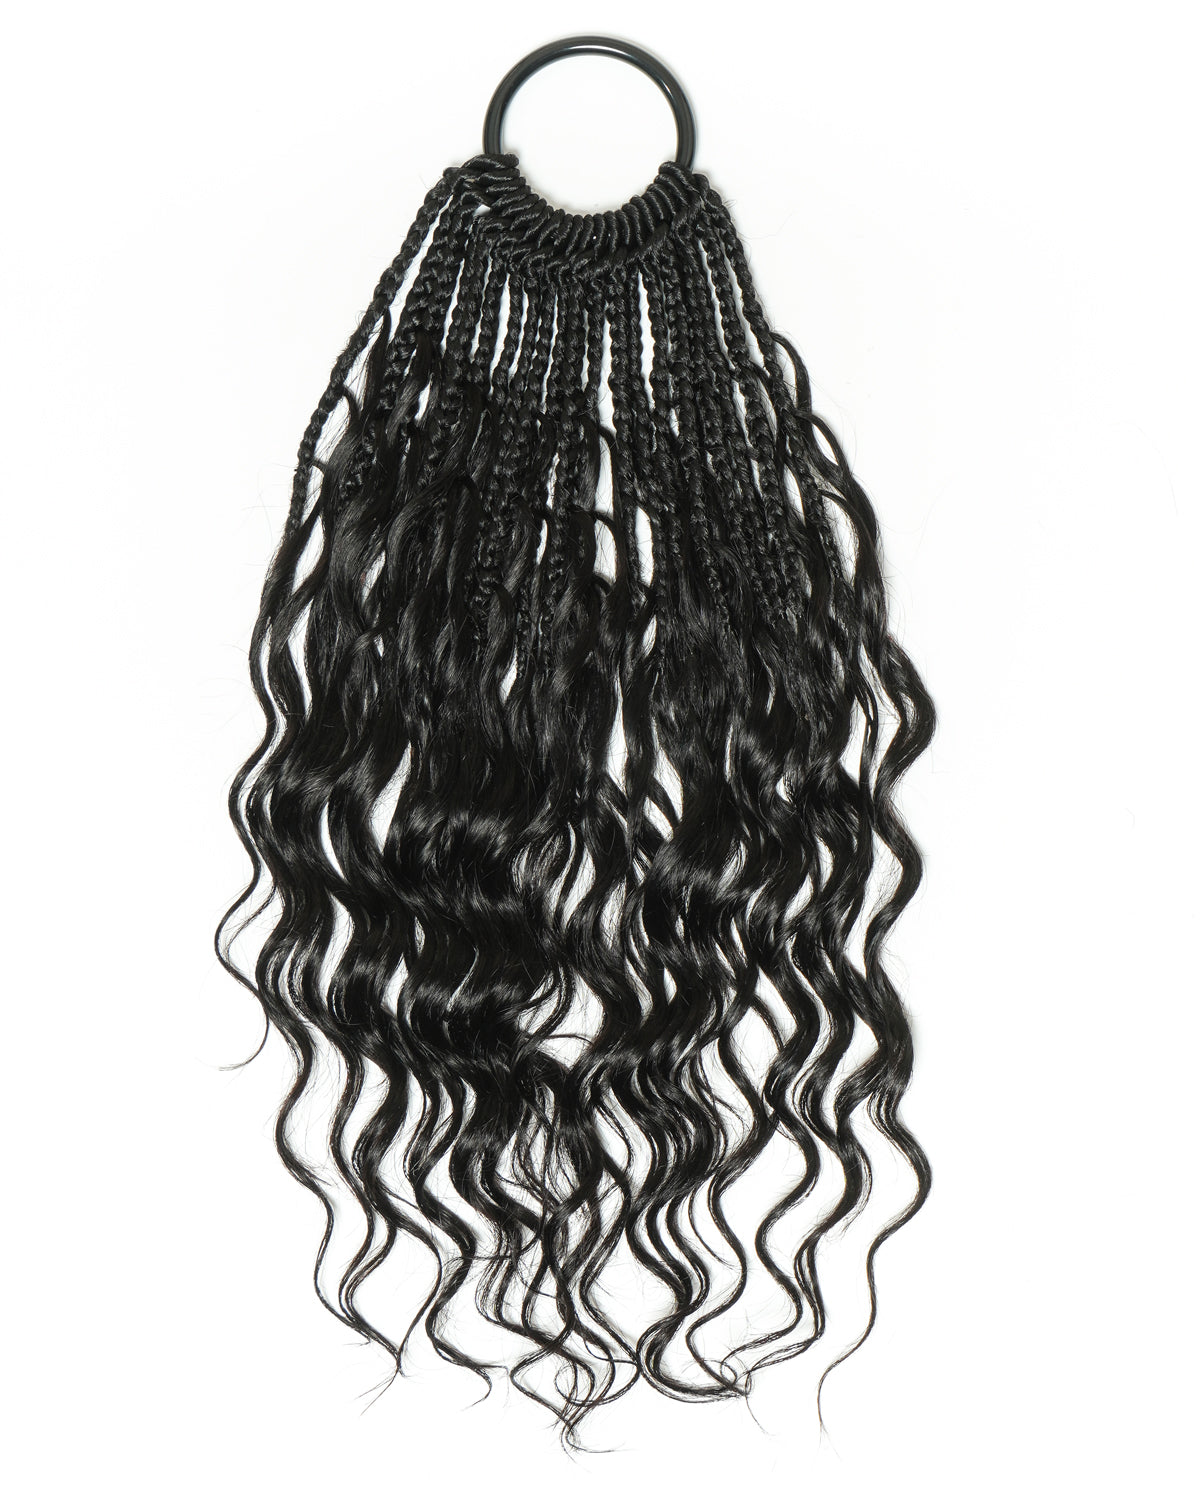
Box braids have become a staple protective style for many, offering a versatile and low-maintenance way to switch up your look. Whether you're a DIY braiding enthusiast or simply have leftover braids from your latest salon visit, you may find yourself wondering, What is the ideal way to store detached box braids for future use? In this article, we'll dive into the best practices for storing your unused braids, ensuring they stay fresh, tangle-free, and ready for your next installation.

Why Proper Storage Matters
Before we delve into the storage techniques, it's essential to understand why proper storage is crucial for your unused box braids. Here are a few key reasons:
-
Longevity: Properly stored braids will last longer, maintaining their quality and appearance for future use.
-
Hygiene: Storing your braids in a clean, dry environment helps prevent the growth of mold, mildew, and bacteria.
-
Tangle Prevention: Careful storage techniques can help minimize tangling and matting, making your next installation a breeze.
-
Cost-Effective: By preserving your unused braids, you can save money on future installations and reduce waste.
Now that you understand the importance of proper storage let's explore the best methods for keeping your extra braids in tip-top shape.
You may like: 30 Captivating Bohemian Box Braids Hairstyles
Step-by-Step Guide to Storing Unused Box Braids
Follow these simple steps to ensure your unused box braids stay fresh and ready for your next style:
Step 1: Clean and Condition
Before storing your braids, it's essential to ensure they are clean and free from any dirt, product buildup, or debris. If your box braids have been previously installed, gently wash them using a mild, sulfate-free shampoo and lukewarm water. For new, unused braids, you may skip this step.
Once clean, condition the braids using a lightweight, moisturizing conditioner to help keep the fibers soft and manageable. Gently squeeze out excess water and allow the braids to air dry completely before moving on to the next step.
Step 2: Detangle and Separate
Using your fingers or a wide-tooth comb, gently detangle any knots or snags in the braids, taking care not to pull or tug on the fibers. If you're working with a braided wig, place it on a wig stand or mannequin head for easier handling.
Next, separate the braids into smaller, manageable sections. You can divide them by length, color, or style, depending on your preference. This step will make the braids easier to store and help prevent tangling.

Step 3: Secure the Braids
Once your braids are detangled and separated, it's time to secure them for storage. There are a few different methods you can use, depending on your preference and the length of your braids:
-
Rubber Bands: For shorter braids, like twist braids or bob-length box braids, you can use small, snag-free rubber bands to secure the ends and prevent unraveling.
-
Hair Ties: For longer braids, use soft, fabric hair ties to bundle the braids together loosely. Avoid using tight elastics, which can cause creasing or damage to the fibers.
-
Braid the Braids: For extra-long braids, you can braid them into larger plaits to keep them neat and tangle-free. Secure the ends with a snag-free elastic or hair tie.
Step 4: Choose Your Storage Container
Now that your braids are clean, dry, and secured, it's time to choose an appropriate storage container. Here are a few options to consider:
-
Resealable Plastic Bags: Place your braids in a large, resealable plastic bag, such as a freezer bag or garment bag. Squeeze out any excess air before sealing to help prevent moisture buildup.
-
Airtight Containers: Store your braids in a clean, airtight container, such as a plastic storage bin with a lid. Line the container with tissue paper or a soft cloth to help cushion the braids.
-
Hanging Organizers: For longer braids or braided wigs, consider using a hanging organizer with clear pockets. This method allows you to easily see and access your braids while keeping them neat and tangle-free.
You may like: Revive Your Look: When to Redo Box Braids for Optimal Style
Step 5: Store in a Cool, Dry Place
Finally, choose a cool, dry place to store your braids, away from direct sunlight, heat, or moisture. A closet shelf, dresser drawer, or storage bin in a temperature-controlled room works well.
Avoid storing your braids in damp or humid areas, such as bathrooms or basements, as this can lead to mold or mildew growth. If you live in a particularly humid climate, consider adding a silica gel packet to your storage container to help absorb excess moisture.
Tips for Maintaining Stored Braids
To keep your stored braids in the best possible condition, follow these additional tips:
-
Inspect Regularly: Check on your stored braids every few months to ensure they remain clean, dry, and tangle-free. If you notice any signs of damage or moisture buildup, address the issue promptly.
-
Refresh as Needed: If your braids have been stored for an extended period, they may benefit from a quick refresh before use. Gently mist them with a lightweight leave-in conditioner or braid spray to help revive the fibers and add moisture.
-
Rotate Your Stash: To prevent your braids from sitting unused for too long, try to rotate through your stash regularly. Use the oldest braids first, and replenish your supply as needed.

Conclusion
Storing your unused box braids properly is essential for maintaining their quality, hygiene, and longevity. By following our step-by-step guide and tips for maintenance, you can ensure that your extra box braids hairstyles stay fresh, tangle-free, and ready for your next installation.
Remember to clean and condition your braids before storage, detangle and secure them properly, choose an appropriate storage container, and store them in a cool, dry place. With a little care and attention, your unused box braids, twist braids, or braided wig will remain in excellent condition, saving you time and money in the long run.





Share:
Salvage Your Slacking Braids: Fixing Loose Roots on Box Braids
Slumber Solutions: Styles that Shield from Snarls Overnight