Introduction
The free-flowing, voluminous texture of passion twists has naturals everywhere craving this must-try protective style. While getting them professionally installed can put a dent in your wallet, there's no need to shy away - you can easily master this covetable look right at home! For those wondering how to do passion twist hairstyles, this ultimate step-by-step guide will empower you to create showstopping passion twists that allow your natural beauty to shine. If you are not familiar with passion twists, you can refer to our previously published article about Passion Twists Guide which provides a detailed introduction to this style.
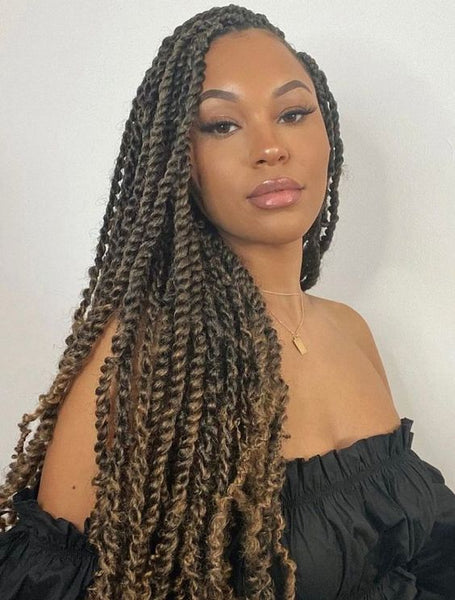
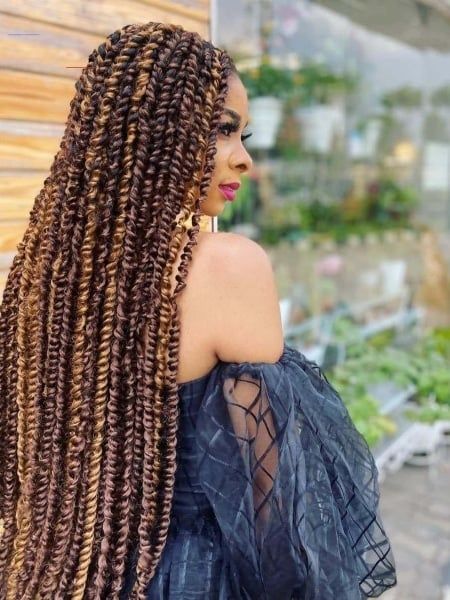
The Beauty of Passion Twists
Before we dive into the installation process, let's explore what makes passion twists such a beloved style for natural hair queens. These luscious twists offer unparalleled versatility, allowing you to rock looks from sleek and chic to wildly boho-glam. Their textured, fluffy aesthetic adds gorgeous volume and dimension. Unlike thinner twisted styles like Senegalese or Havana twists, the thick, saturated strands of passion twists create a full, striking mane.
Yet passion twists aren't just a striking style statement - they also provide excellent protective benefits for your tresses. The twisting technique allows your ends to be tucked away, minimizing dryness, breakage, and split ends. When properly installed and maintained, passion twists can be kept in for 4-8 weeks, giving your hair a nice stretch of low manipulation.
Before You Start: Assemble Your Supplies
Having all the right tools on hand is key to DIY passion twist success. You'll need:
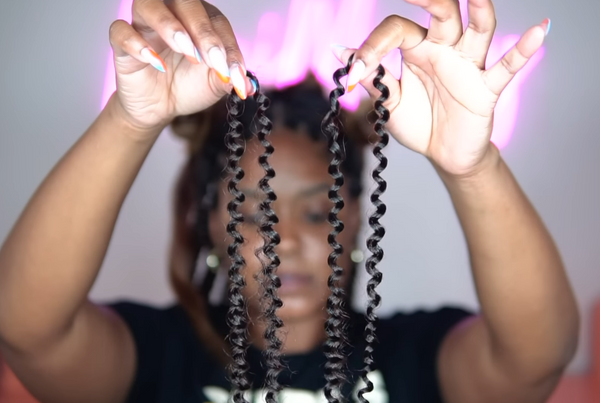
- Textured synthetic braiding hair in a water wave or pencil curl pattern (aim for a texture that mimics your natural curl pattern)
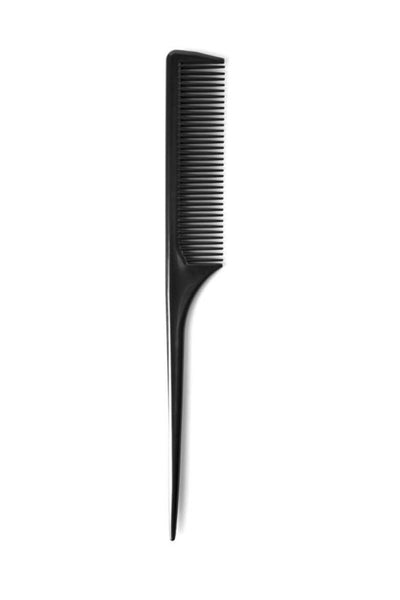
- Rat-tail comb and duckbill clips for parting
- A spray bottle filled with water to rehydrate hair as you go
- Leave-in conditioner to moisturize your natural hair
- Styling products like gel, mousse, or creams for twist definition
- Crochet latch hook to attach the braiding hair
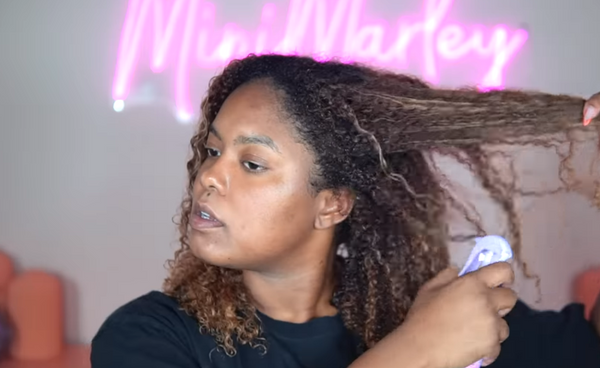
Prep Those Natural Curls
Prepping your hair properly prevents dryness, frizz, and breakage during the installation. Start by detangling strands thoroughly using a wide-tooth comb or paddle brush. Work in sections, gently removing any snarls or sheds. Follow up by applying a rich, nourishing leave-in conditioner from roots to ends. This step is crucial for maintaining hair elasticity and moisture during the twisting process.
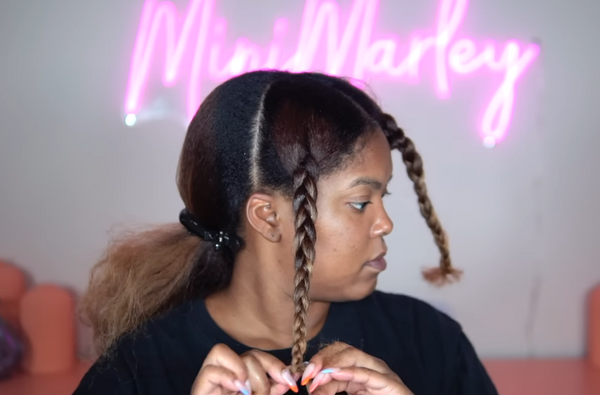
Divide and Conquer: Sectioning and Braiding
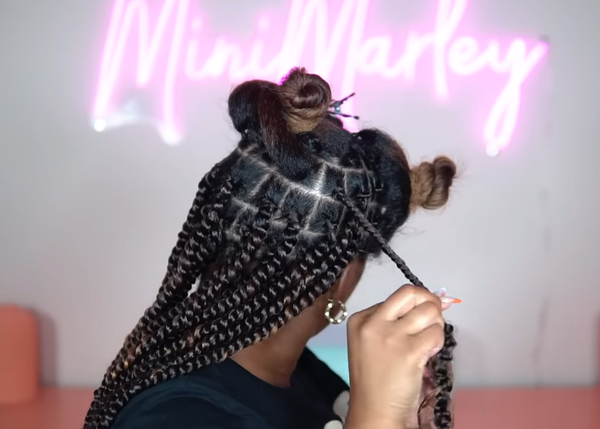
To make installation easier, you'll want to split your hair into neat sections for parting. Create a horizontal row of square or triangular parts using the rat-tail comb. Secure each section with a duckbill clip.
Then, create small braids or plaits along the base/roots of each sectioned part, braiding just 1-2 inches down. These braided bases serve two key purposes:
1) They create an anchored foundation to attach the braiding hair extensions
2) They grip the extensions and prevent slippage/unraveling as you twist
Take your time with this braiding step to ensure it's neat and secure.
Secure the Braiding Hair
Next up, it's time to attach those braiding hair extensions! Using your crochet latch hook, carefully pull a folded section of the braiding hair through the braided base at the roots. The latch hook allows you to easily feed the extension through the tightly braided base.
Once the folded section is pulled through, gently unravel and separate the ends of the braiding hair, allowing it to blend with your natural hair.
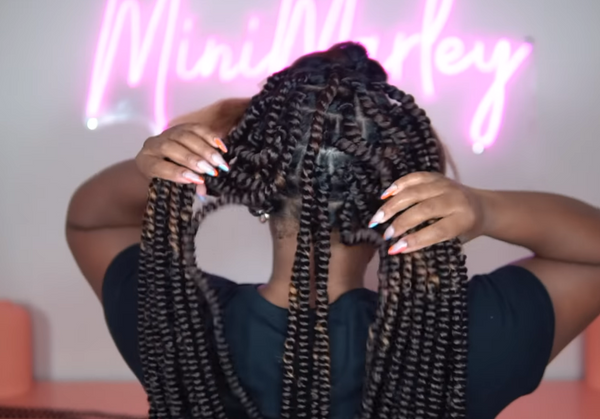
The Main Event: Mastering the Twist
Here's where you'll channel your inner stylist! With one hand holding the braided base and the other grasping the hanging braiding hair, begin twisting downwards in a clockwise spiral motion. Twist firmly but gently, maintaining even tension throughout. As you twist down the length, seamlessly incorporate your leave-out natural hair by folding it into the twisting pattern.
Take your time and focus on twisting with consistent tightness and pattern. This is key for achieving twists with a uniform, polished look. Work in small sections for manageability.
Style and Set Those Twists
Once all twists are completed, you have the option to "set" them for extra hold and beautiful definition. Apply a small nickel-sized amount of styling mousse, foam, or gel from roots to ends, using a scrunching motion with your hands. This defines the wave pattern and adds hold while allowing the twists to maintain a fluffy texture. Many naturals swear by affordable drugstore gems like Sainsbury's "My Hair Matters Volume Boost" mousse.
Allow twists to fully air dry and set before styling. You can gently separate and fluff them with your fingers to create your desired look and volume.
Styling and Maintenance Tips
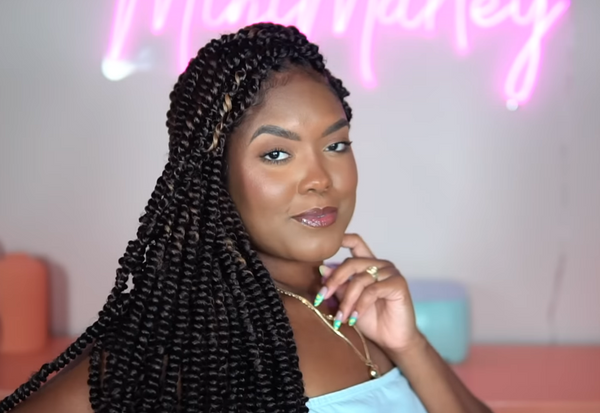
Now for the fun part - styling your fabulous twists! Passion twists can be worn in endless versatile 'dos, from half-up half-down styles to chic topknots and updos. Their thick strands make them perfect for gorgeous ponytail looks. Or let your twists flow freely for a show-stopping, free-spirited vibe!
No matter how you rock them, proper maintenance is key for extending your twist life:
- Sleep on a satin/silk pillowcase or bonnet to minimize frizz and preserve definition
- Refresh and rehydrate twists every few days using a lightweight oil, cream or moisturizing mist
- Gently separate and fluff twisted strands as needed with your fingers, being careful not to overwork them
- Consider spritzing with a setting foam or mousse weekly to reactivate the hold
You May Also Like: Knotless Box Braids vs. Box Braids
Time for a Switch: Unraveling the Twists
After 4-8 weeks, your passion twists will likely need to be switched up to prevent excessive buildup, dryness, and tension on your roots. When removing them, take your time and carefully unravel each twist one by one. Rushing can lead to excessive shedding, breakage, and unnecessary stress on your tresses.
Once all the twists are out, do a deep cleansing wash and conditioning treatment to revive your hair. Use a gentle sulfate-free shampoo and rinse thoroughly. Follow up with a hydrating deep conditioner packed with ingredients like shea butter, oils, and proteins. This helps restore much-needed moisture and elasticity to your strands.
With this comprehensive guide, you now have all the tools to unleash your twist texture at home! Get ready to command attention with wildly lush, free-flowing passion twists that highlight your stunning natural beauty. Embrace your inner stylist - you've got this!
Passion Twist Perfection Made Easy
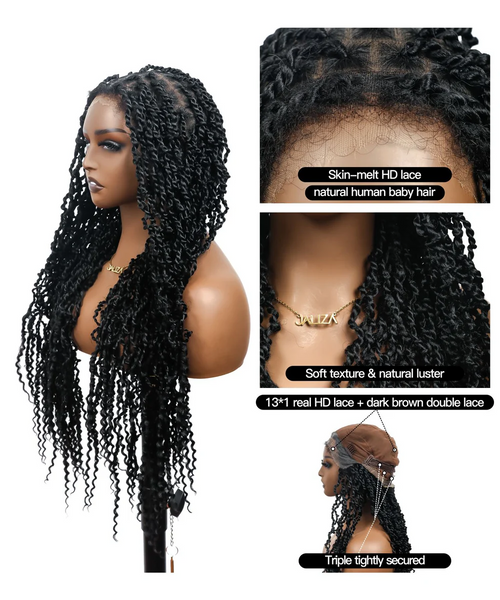
For those looking to skip the installation process, JALIZA Braids offers a stunning choice - premium passion twist wigs that deliver gorgeous, natural-looking results seamlessly. Our wigs recreate the lush texture and fluffy volume of hand-twisted passion twists flawlessly using high-quality synthetic fibers.
We provide options ranging from shoulder-length to ultra-long passion twist locs in various lace fronts constructions like 13x1 HD lace and 5x7 HD lace. Our passion twist wigs feature meticulously hand-crafted baby hairs along the hairline for an undetectably natural look.
When ordering from us, you can have complete peace of mind. We are committed to 100% authenticity and honesty, ensuring you receive the exact high-quality wig you ordered. We also offer a 30-day return policy, 24-hour dispatch, free 3-7 day shipping, and 100% secure payment options, including four interest-free installments.
So whether you're a DIY queen mastering the art of hand-twisting or prefer the effortless wig life, our passion twist wigs provide the tools to unleash wildly textured, free-flowing perfection! Highlight your unique beauty with this must-try twisted style from JALIZA Braids.


